
My friend and fellow Journey Coach with FunStampers Journey, Jeanette, came to play with our FunStampers Journey Product this past weekend. She was kind enough to teach me 2 new techniques and I have used them both on this card!
 Using all FunStampersJourney product, create the butterfly first as it takes a while for it to dry.
Cut a 12″ x12″ inch piece of WhipCream Card Stock 4 ” x 12″
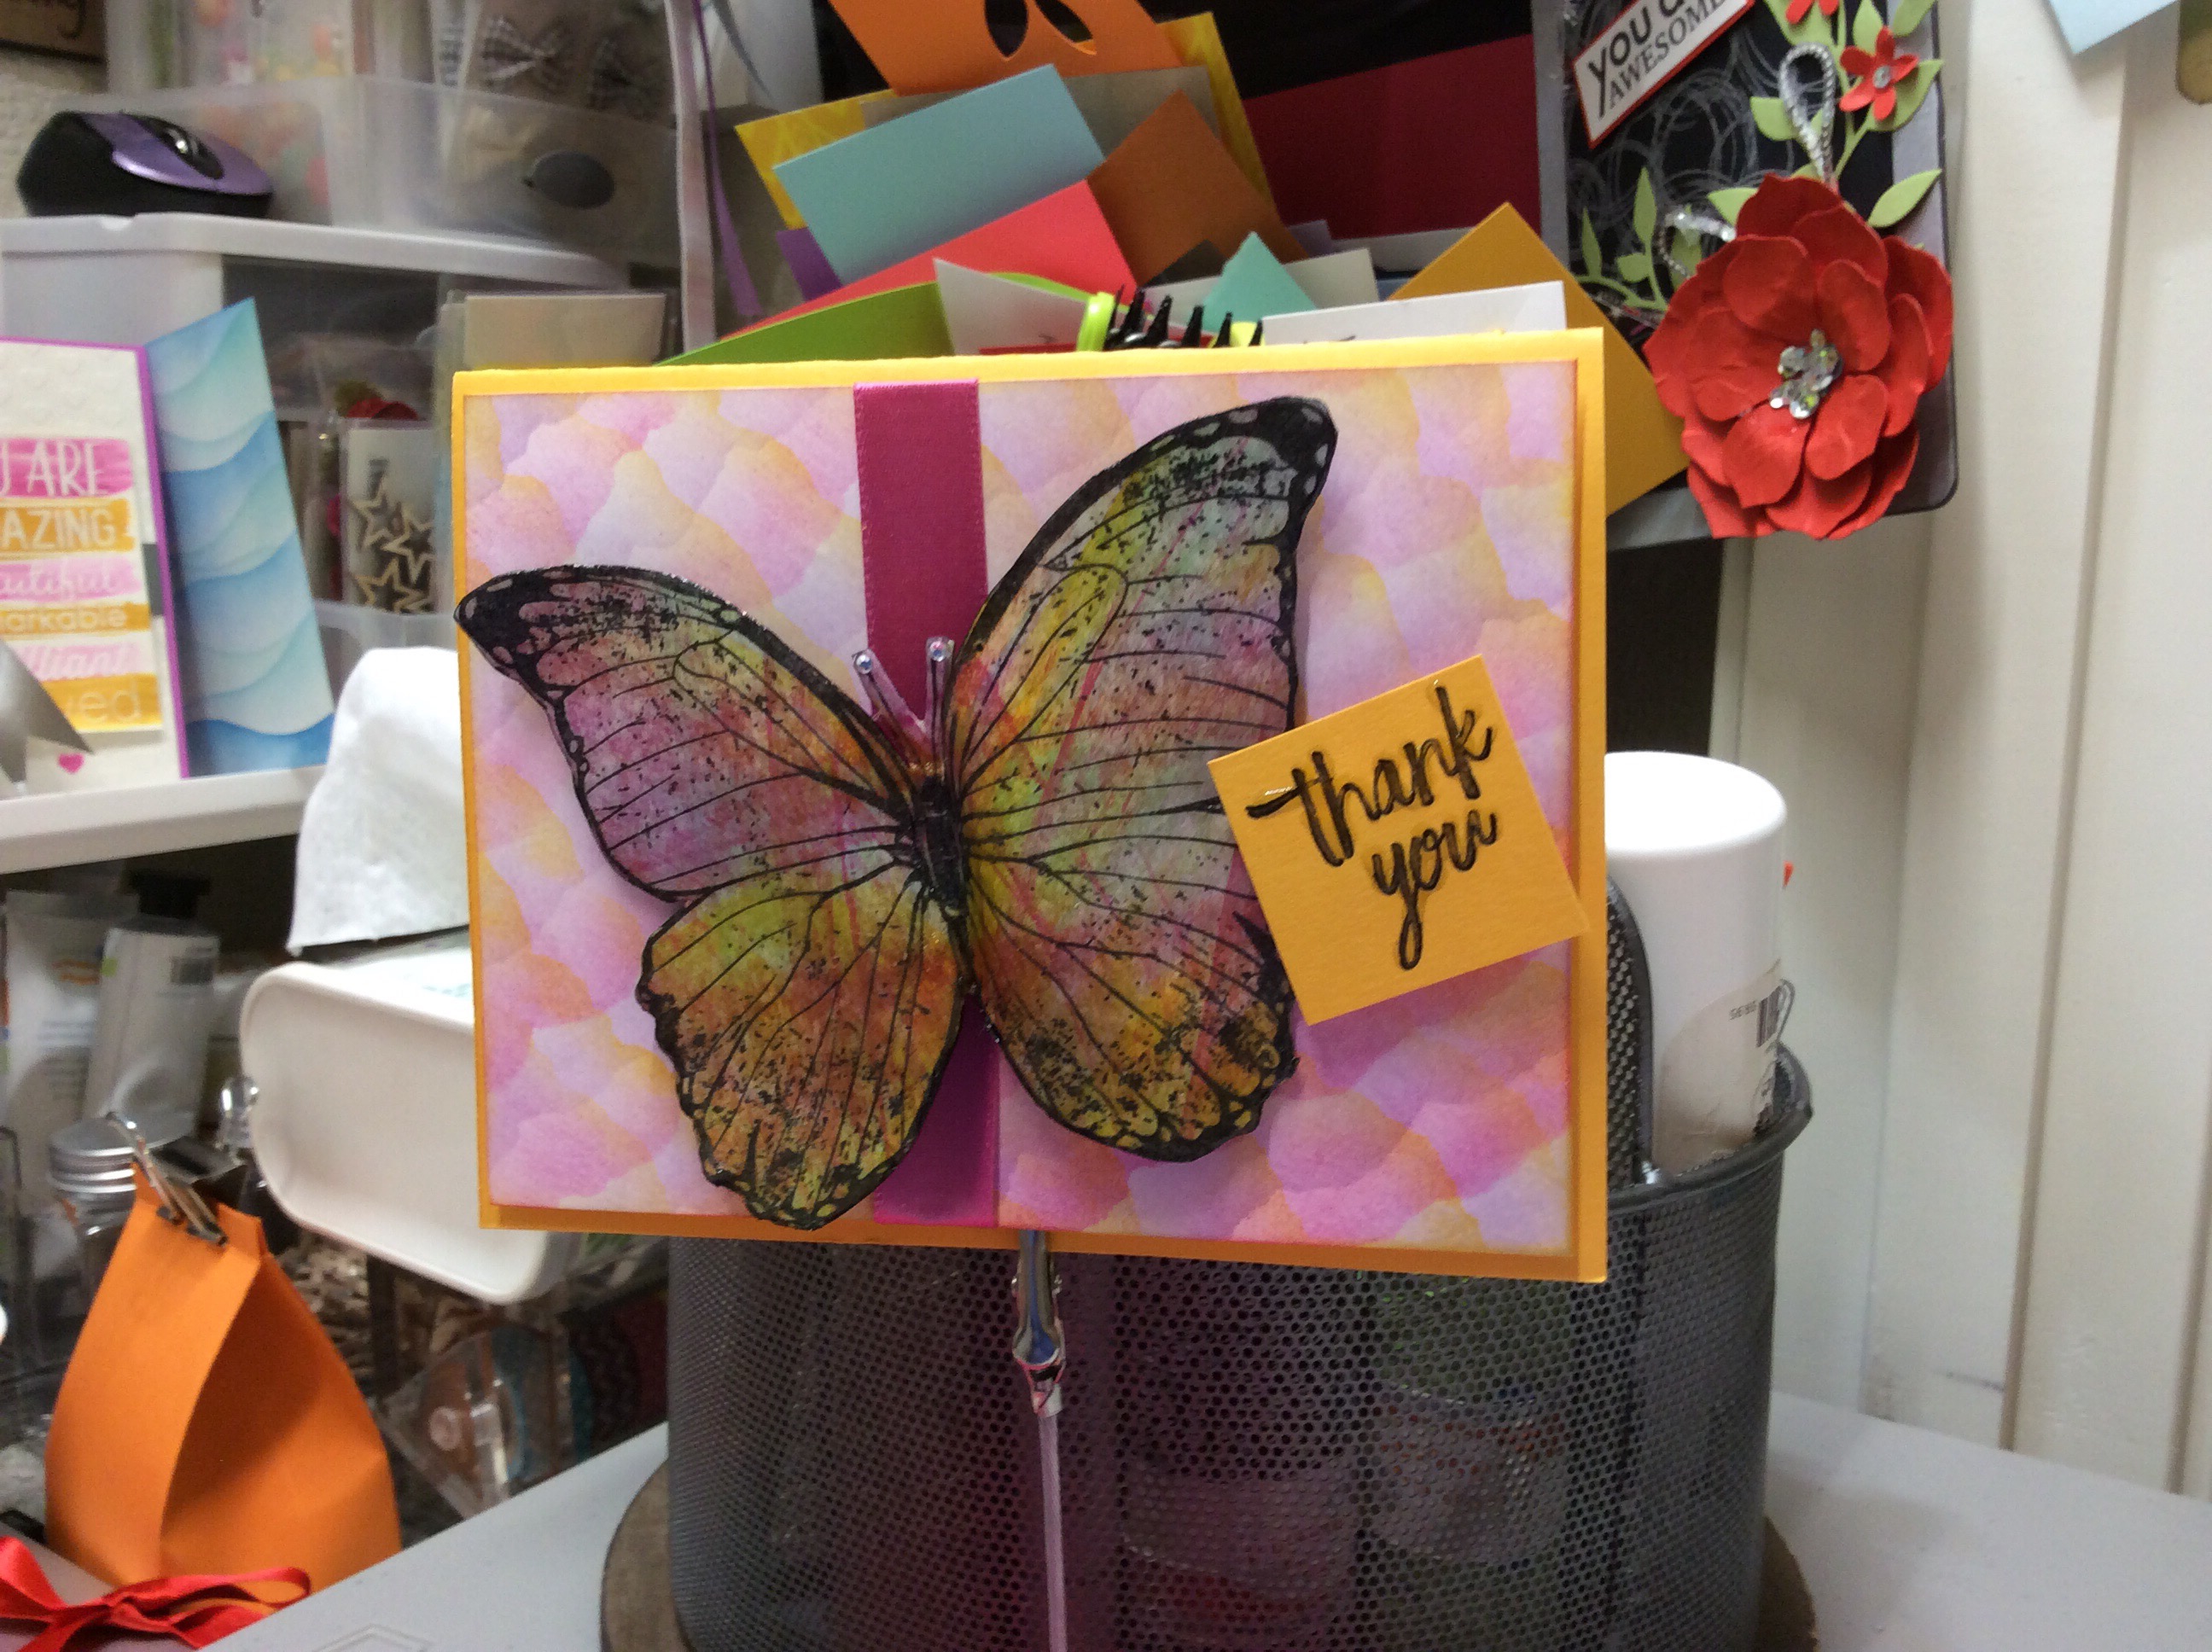
Using the February Bloom Box Stamp, Bold Wings, SS-0420 stamping 1 time with Black Licorace Cardstock. Using the ink to paper technique swipe the chosen colors of ink upward . I used three colors, Pineapple Smoothie, Watermelon Fusion and Pool Play.Then fold the Cardstock three times with the image fitting on the folded pieces and using the Journey Craft Glue, glue them together one on top of the other like an accordion ending with a piece of Black Licorace paper to fit the last piece of Whip Cream Cardstock,glueing all together with the butterfly image on the top. Be very generous with the glue. While still wet cut out the image with your Journey Grand Pro Shears and while pliable mold the butterfly’s wings to simulate flying! Let dry a little longer and then using a small amount of water in bottom of cup and add Journey Glaze to make a thickish wash to paint onto the the butterfly. Paint 3 or more times with the Glaze mixture. Let dry completely. When dry using a black marker go around the edges of the butterfly’s wings ( also called distressing). Set aside and go on to making your card panel.
Waterfall technique:
Using a piece of Whip Cream Cardstock cut 5 1/4″ x 4″
Choose two inks , I chose Pinapple Smoothie and Watermelon Fusion.
Take a piece of Scrap Cardstock and tear the edge all the way down. You need a 12″ by about 3 ” scrap.
Using Fusion Ink Sponges JM-0014 (cut into quarters) daub the sponge onto the first ink pad , placing the torn edge of the scrap onto the cut Whip Cream piece and moving from top corner to opposite bottom corner, starting in the corner swipe the ink from the scrap piece onto the card base, turn the torn scrap piece and using another color move the piece down about 1/4″ and swipe again, rotating the scrap paper and the ink. When complete go to the other top corner and do the same thing with the scrap paper with the third color but try to only get the very torn edge with the ink. Repeat all the way down. Let dry thoroughly.
To assemble card:
Stamp sentiment from the Butterfly Stamp Set onto a scrap piece of SummerDays Cardstock and cut out.
Using a piece of SummerDays Cardstock for the card base cut at 5 1/2″ x 8 12″ and folded in half (tent fold)
Using Picture for Reference:
Adhere a piece, 7 inches of Watermelon Fusion Satin Ribbon to finished WhipCream piece of the Waterfall technique, the finished ink to paper piece to the Summer Days with Journey Easy Glide Adhesive and then using Foam Square (medium) adhear the butterfly to the card front. I used a little Journey Craft Glue to make it more stable. Adhear the sentiment with Foam Squares and you are done! Enjoy.
For more help and tutorials watch Janna Williams Facebook videos and Richard Garry’s YouTube videos for more guidance.
Don’t forget to mail in a padded envelope so the butterfly doesn’t get squished. And know that it will be pricey to mail.
